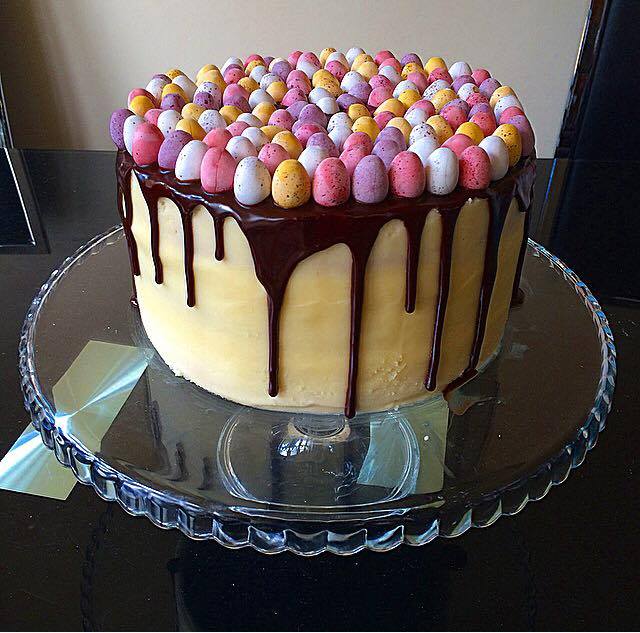
This cake incorporates my favourite tea - Earl Grey and the perfect flavour that goes well with Earl Grey is honey! The recipe has an Earl Grey Sponge Cake, soaked in Earl Grey Syrup which is then filled with honey buttercream. Finally, the cake is decorated with a blue ombre buttercream, with white chocolate ganache drips and homemade honeycomb.
Ingredients:
Earl Grey Sponge Cake:
335g Soften Butter/Baking Spread
335g Caster Sugar
6 x Eggs
335g Self-raising Flour
2 Tsp Earl Grey Tea Leaves (I like to use Twinnings)
1 ½ Tsp Baking Powder
Earl Grey Tea Syrup:
125ml Boiling Water
125g Caster Sugar
Honey Buttercream:
250g Soften Butter
800g Icing Sugar
200g Honey
Wilton Sky Blue Food Colouring
White Chocolate Ganache:
150g White Chocolate
75g Double Cream
Wilton White White Food Colouring
Honeycomb:
375g Caster Sugar
225g Golden Syrup
125ml Water
15g Bicarbonate Soda
1. Pre-heat the oven to 180C/350F/Gas Mark 4. In a large mixing bowl add the softened butter/baking spread and caster sugar. Mix the ingredients until they become paler in colour.
2. Add the eggs one at a time while mixing. By adding the eggs one at a time; It will help to prevent the mixture from curdling.
3. Next add the self-raising flour, earl grey tea leaves and baking powder. Mix again till all of the dry ingredients are fully incorporated.
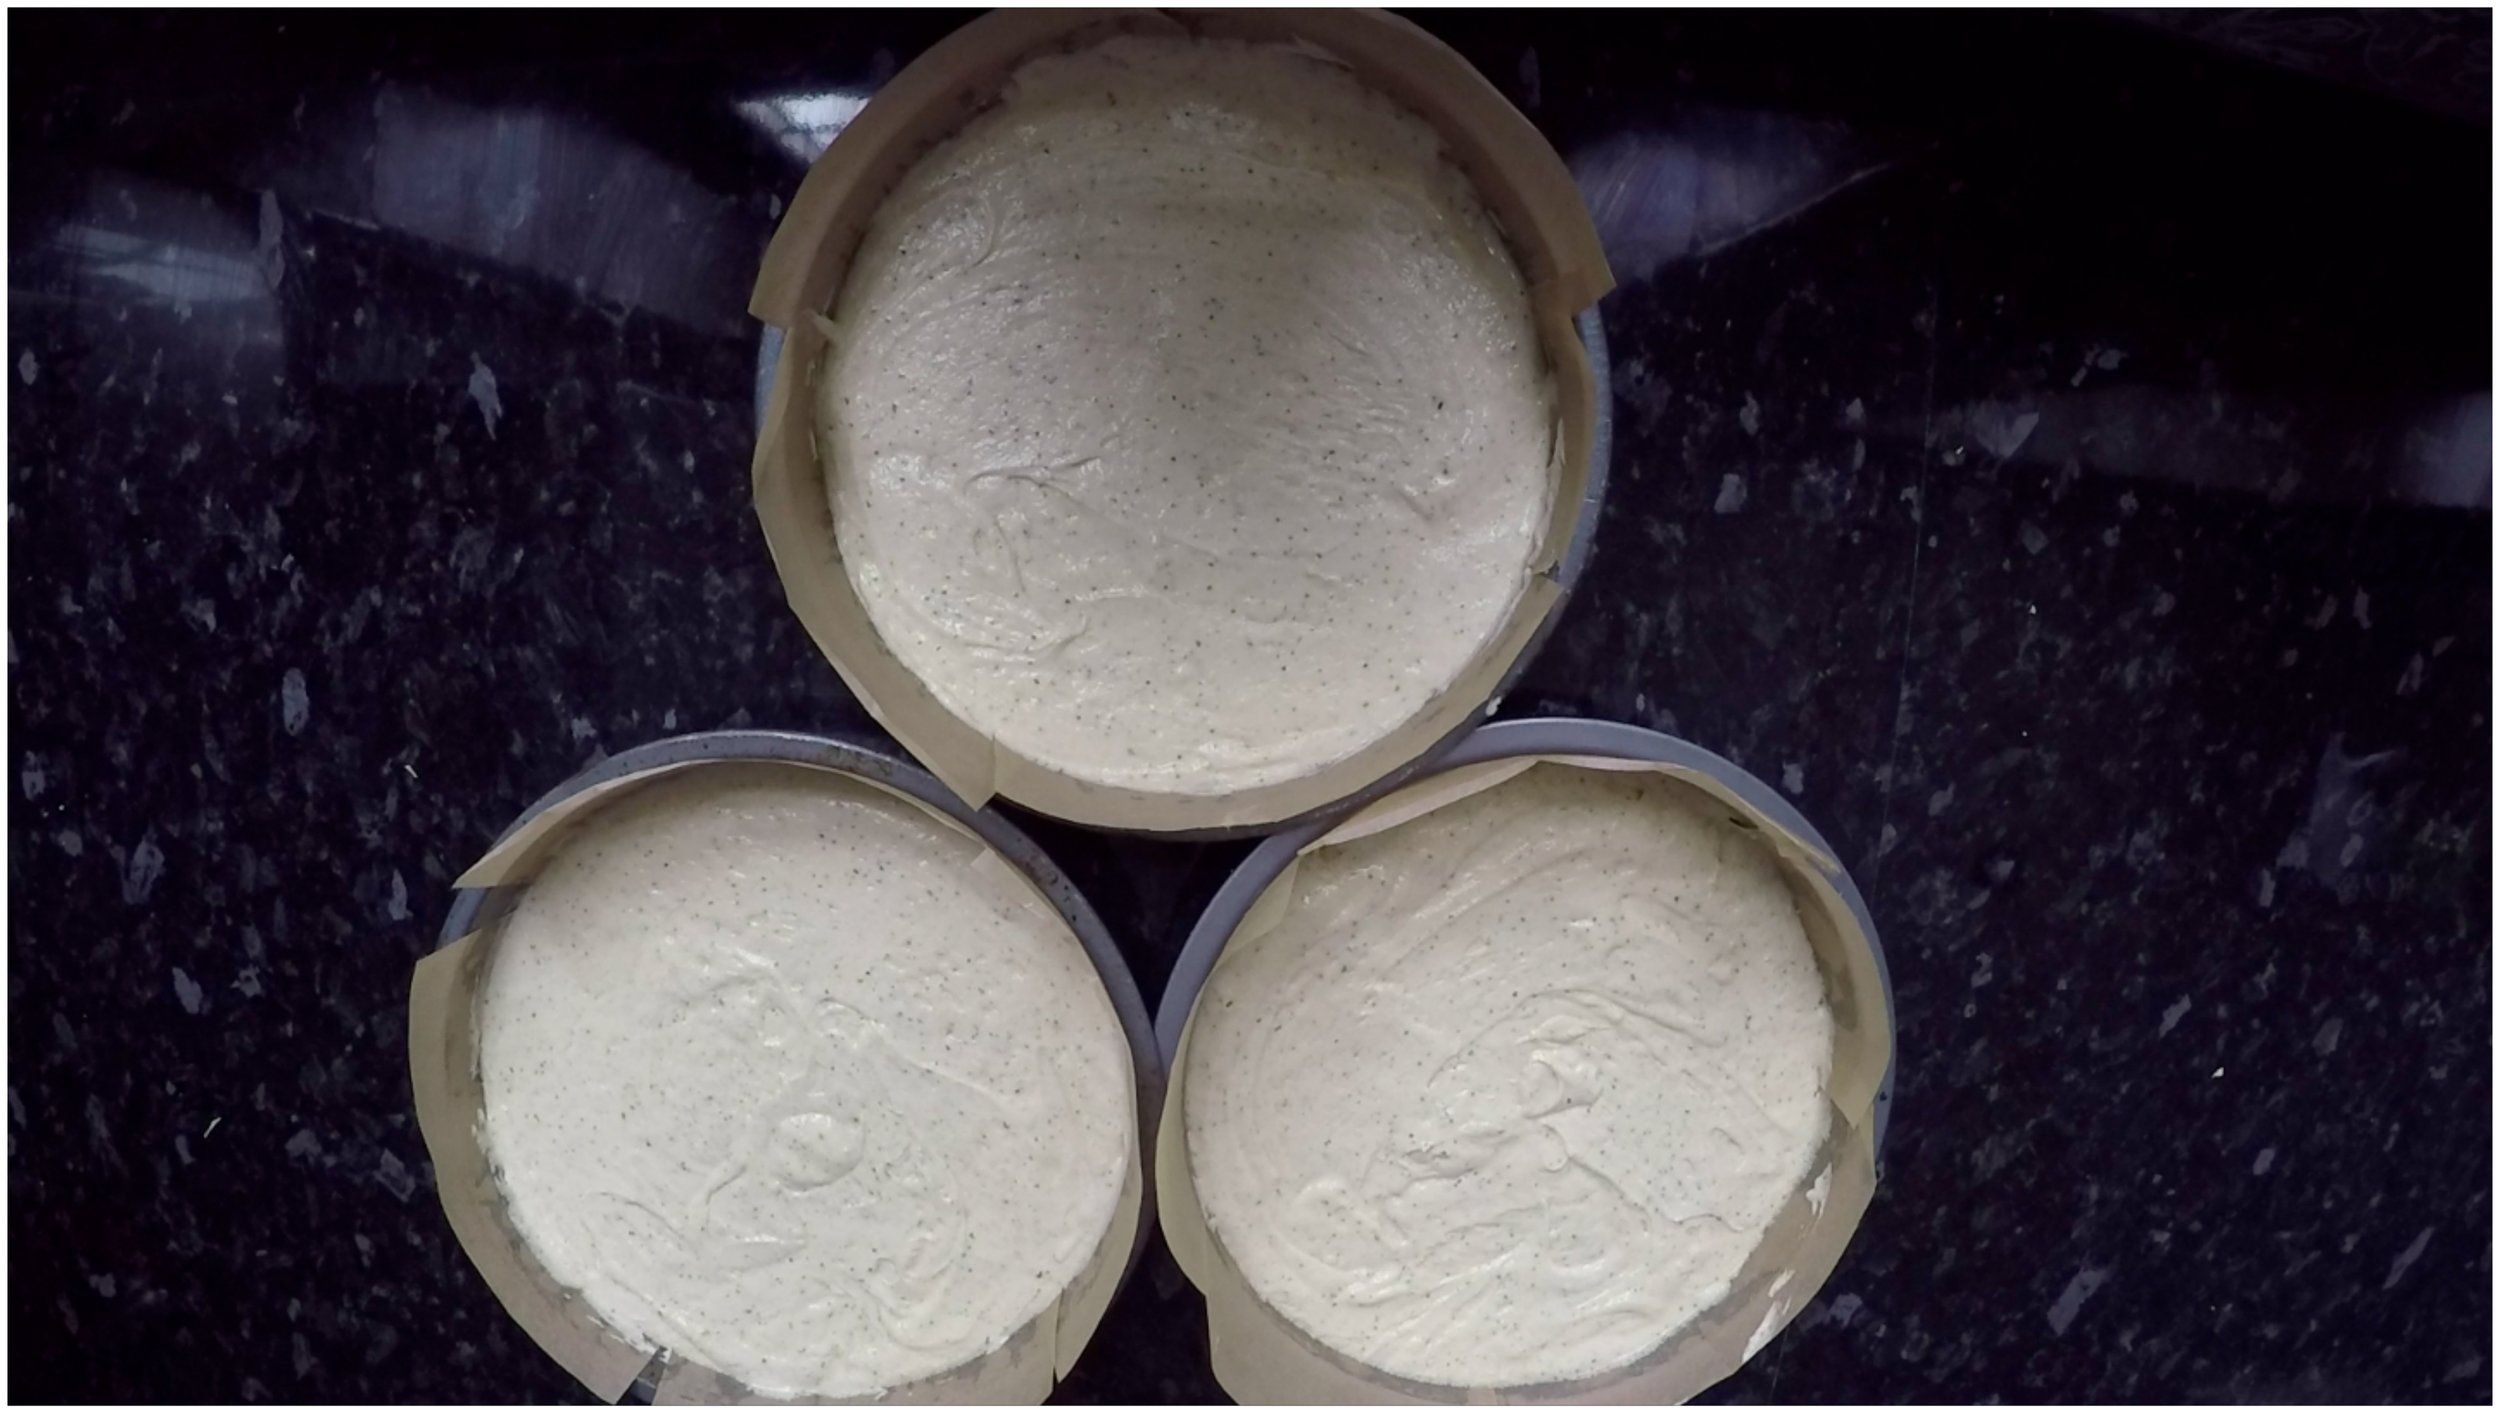
4. Divide the earl grey cake mixture into 3 x 20cm lined cake tins.
5. Bake in the oven for 20-25 minutes, the cakes should be a nice golden brown colour when they baked. Leave the cakes to cool for 30 minutes.
6. While the cake is cooling make the earl grey syrup, place the boiling water and earl grey tea bags into a pan and leave the tea to brew for 10-15 minutes.
7. Then add the caster sugar and heat until the mixture starts to boil.
8. Remove the pan from the heat and allow the syrup to cool.
9. To make the honeycomb, line a cardboard box
10. Place the caster sugar, golden syrup and water into the pan and mix. Turn on the heat on to a medium flame.
11. Heat the mixture until it reaches 145C, it is useful to use a candy thermometer as you need to be really accurate with the temperature. Be extremly careful when handling this mixture.
12. Once the mixture reaches 145C remove the pan from the heat and add the bicarbonate soda. Quickly mix all of the bicarbonate soda into the mixture and then pour into the cardboard box. Leave to cool for 1-2 hours.
13. To make the honey buttercream, place the soften butter in a large mixing bowl and mix until the butter becomes paler in colour.
14. Add the icing sugar and honey and mix until the ingredients have been incorporated.
15. If the buttercream is looking dry and not spreadable, add the milk until you get a spreadable buttercream.
16. Divide the buttercream into 2 bowls, one bowl of buttercream will be used for the crumb coat and the other with be used for the blue ombre buttercream finish.
17. Separate one-half of the buttercream into 5 bowls. with a toothpick and the Wilton sky blue food colouring to create 4 shades of blue (remember you can always add more but you can't take away). Place the buttercream into 4 piping bags. Keep one bowl of buttercream white.
18. Place one layer of cake onto a cake turntable, brush some of the earl grey syrup on to the cake using a pastry brush. Pipe the honey buttercream onto the cake. I used a standard Wilton 1D Tip. Place the next layer of cake on top.
19. Repeat this process again for the next layer of cake.
20. Coat the cake with buttercream. If you need help doing this I have a tutorial here on how to do this. Then place the fridge in the cake for 30 minutes.
21. Pipe the blue buttercream around the cake, using the darkest blue at the bottom of the cake and then smoothen the sides with a scrapper. Then place the fridge in the cake for 30 minutes.
22. While the cake is chilling, make the white chocolate ganache. Place the double cream into a pan and heat until the cream starts to simmer. Break the white chocolate into small pieces and place in a bowl. Pour the double cream over the chocolate and mix.
23. Add some of the white food colouring and mix until it is evenly distributed throughout the white chocolate ganache. Transfer the ganache into a squeeze bottle (this will make it easier to control the length of the drips).
24. Remove the cake from the fridge. Carefully squeeze the bottle, over the edge of the cake to create the “drip” effect. You can control the length of the "drips" based on how long you squeeze the bottle for.
25. Decorate the top of the cake with the broken pieces of honeycomb.
Here are some other drip cakes you might want to try out!


